Getting started with React Hook Form with TypeScript
This is the first in a series of posts on React Hook Form, which, as the name suggests, is a helpful library for building forms in React.
- Getting started with React Hook Form with TypeScript (this post)
- Custom validation rules in React Hook Form
- Master-detail forms with React Hook Form
In this post, we are going to build a form to capture a name, an email address, and a score. The form will have some simple validation rules and output its data to the console when submitted.
Installing
React Hook Form’s package name is react-hook-form, so we can install it into our project using the following command:
npm install react-hook-formThe package includes TypeScript types, so there is no additional installation required for this.
Basic form
Let’s start by defining the type for the forms data:
type PersonScore = { name: string; email: string; score: number;};So, we want to capture a name, an email address, and a score in our form.
Let’s create our basic form JSX:
export const PersonScoreForm = () => { return ( <form> <div className="field"> <label htmlFor="name">Name</label> <input type="text" id="name" name="name" /> </div> <div className="field"> <label htmlFor="email">Email</label> <input type="email" id="email" name="email" /> </div> <div className="field"> <label htmlFor="score">Score</label> <input type="number" id="score" name="score" /> </div> <button type="submit">Save</button> </form> );};No sign of React Hook Form yet - just a basic form. So, let’s start to make use of React Hook Form by registering the fields:
import { useForm } from "react-hook-form";
export const PersonScoreForm = () => {  const { register } = useForm<PersonScore>();  return (    <form>      <div className="field">        ...        <input          ...          ref={register}        />      </div>      <div className="field">        ...        <input          ...          ref={register}        />      </div>      <div className="field">        ...        <input          ...          ref={register}        />      </div>      ...    </form>  );};
We’ve used the register function from useForm hook to register the reference of each field with React Hook Form.
Notice that we’ve passed our form data type, PersonScore, to useForm in its generic parameter. This will ensure our form is strongly-typed.
Form submission
Let’s create a submission handler for the form:
export const PersonScoreForm = () => {  const { register, handleSubmit } = useForm<PersonScore>();
  const onSubmit = (data: PersonScore) => {    console.log("data", data);  };
  return (    <form onSubmit={handleSubmit(onSubmit)}>      ...    </form>  );};
React Hook Form provides a submit handler, handleSubmit, which we wire up to our form. We pass a callback function, onSubmit, into handleSubmit, which is called with the field values after React Hook Form has validated them all. If validation fails, onSubmit won’t be called.
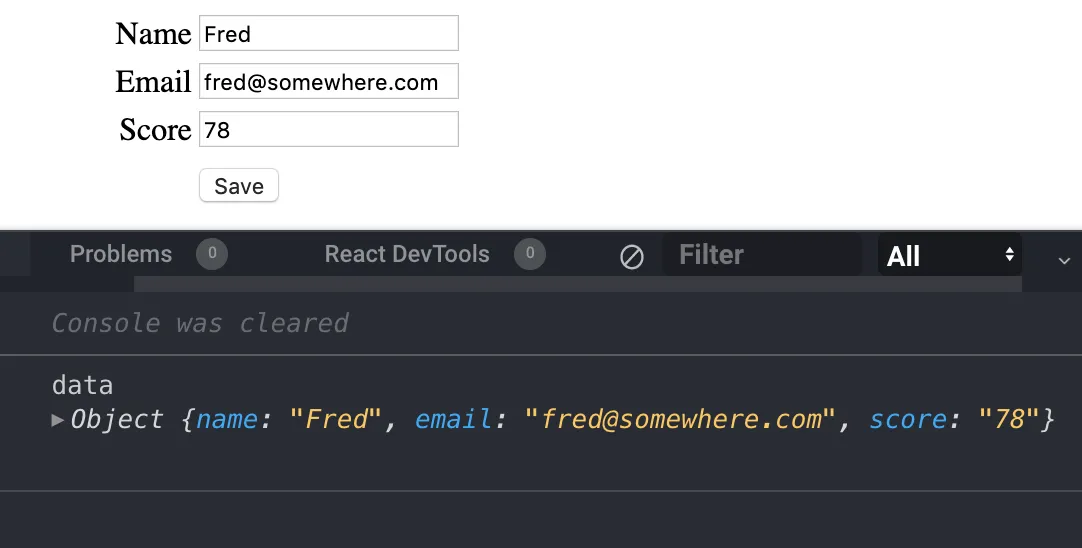
When we press Enter or click the Save button, our onSubmit function is called, and the field values are output to the console:
Basic validation
Let’s turn all the fields in the form to required fields:
<form ... > <div className="field"> ... <input ... ref={register({required: true})} /> </div> <div className="field"> ... <input ... ref={register({required: true})} /> </div> <div className="field"> ... <input ... ref={register({required: true})} /> </div> ...</form>Validation is specified in the register functions parameter. React Hook Form has a few inbuilt validation rules, and one of those is required validation, which we specify by setting required to true in the parameter object.
If we click the Save button without filling in the form, our onSubmit function will no longer be called, and the focus will be set to the Name field.
Let’s improve the user experience by adding some validation error messages:
export const PersonScoreForm = () => { const { register, handleSubmit, errors } = useForm<PersonScore>(); ... return ( <form ... > <div className="field"> <label htmlFor="email">Name</label> <input ... /> {errors.name && errors.name.type === "required" && ( <div className="error">You must enter your name.</div> )} </div> <div className="field"> <label htmlFor="email">Email</label> <input ... /> {errors.email && errors.email.type === "required" && ( <div className="error">You must enter your email address.</div> )} </div> <div className="field"> <label htmlFor="score">Score</label> <input ... /> {errors.score && errors.score.type === "required" && ( <div className="error">You must enter your score.</div> )} </div> ... </form> );};We are using the errors object from the useForm hook to render the error for each field if an error exists.
Notice how we check for the rule the error belongs to using the errors.fieldName.type property. We don’t really need to do this in our simple example because there is only one validation rule per field, but this is a useful pattern to use for more complex forms.
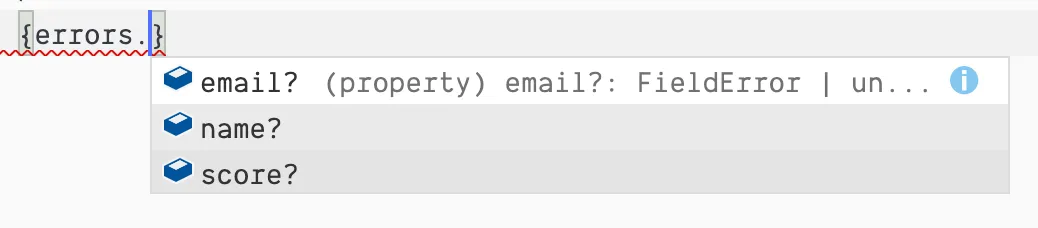
Notice how we get intellisense as we navigate through the errors property because our form is strongly-typed. Nice!
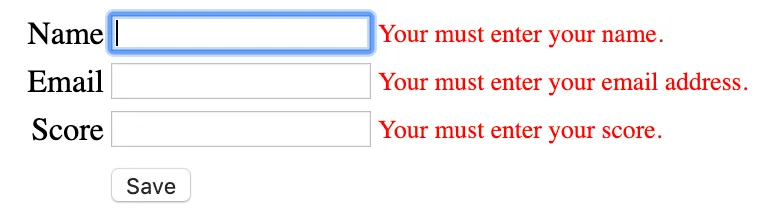
If we click the Save button without filling in the form, the validation errors are now displayed:
A working example of this form is available in CodeSandbox
Wrap up
React Hook Form is super easy and super flexible to work with. We have only scratched the surface in this post.
In the next post, we’ll dive into how you can implement more complex validation rules.
Learn React with TypeScript - 3rd Edition
NewA comprehensive guide to building modern React applications with TypeScript. Learn best practices, advanced patterns, and real-world development techniques.
View on Amazon